

How to test the dc motor with a multimeter?
Testing a DC motor's health requires a multimeter, power supply and wires.
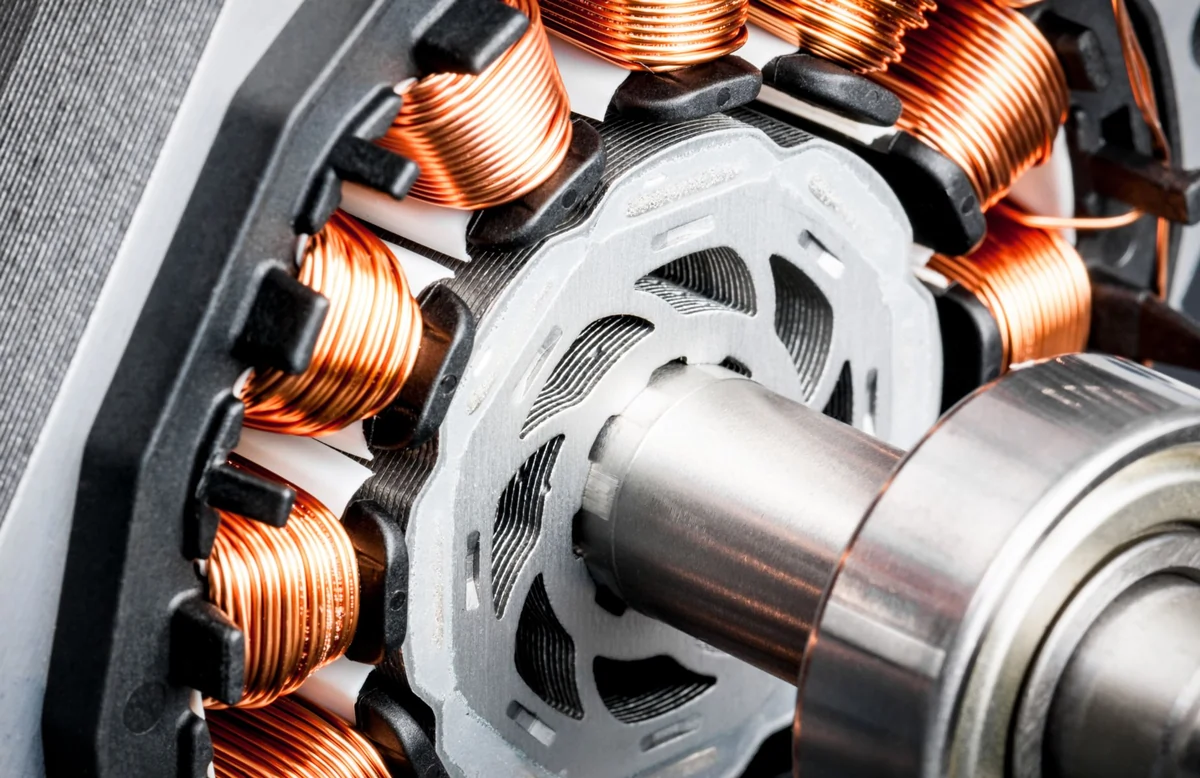
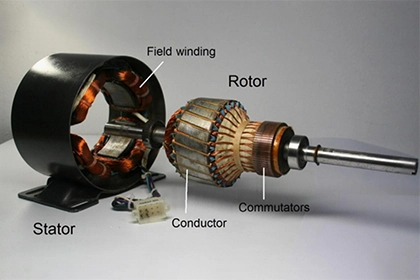
DC motors are widely used in various applications, from small electronic devices to industrial machinery. When troubleshooting or assessing the health of a DC motor, one valuable tool to have is a multimeter. A multimeter allows you to measure various electrical parameters and perform tests to determine the condition of the motor. In this article, we will guide you through the process of testing a DC motor using a multimeter, providing step-by-step instructions and insights to help you in your career.
Tools Required
Before you begin testing a DC Motor with a multimeter, make sure you have the following tools:
- A digital multimeter capable of measuring voltage, resistance, and continuity.
- A fully charged DC power supply or batteries to power the motor.
- A small piece of wire or jumper cables for certain tests.
Testing a DC Motor with a Multimeter
Follow these steps to test a DC motor using a multimeter:
Step 1: Disconnect the Power
Before performing any tests, ensure that the power supply to the DC motor is disconnected. This prevents any accidental electrical shocks or damage to the multimeter.
Step 2: Set the Multimeter to Resistance (Ohm) Mode
Turn on your multimeter and set it to the resistance (ohm) mode. This mode allows you to measure the resistance of the motor windings, which can provide valuable information about the motor's condition.
Step 3: Test the Motor Windings
Place the multimeter probes on the motor terminals, one on the positive terminal and the other on the negative terminal. The resistance reading displayed on the multimeter will indicate the resistance of the motor windings. Typically, a healthy DC motor will have a low resistance reading, usually in the range of a few ohms. If the resistance reading is significantly higher or shows an open circuit (infinite resistance), it may indicate a problem with the motor windings, such as a broken or shorted coil.
Step 4: Set the Multimeter to Voltage (Volt) Mode
To test the motor's voltage, switch the multimeter to the voltage (volt) mode. This mode allows you to measure the voltage across the motor terminals when it is powered.
Step 5: Power the Motor
Connect the power supply or batteries to the motor, ensuring correct polarity. Observe the motor's behavior, such as whether it spins freely or exhibits any unusual noises or vibrations. These observations can provide initial indications of the motor's health.
Step 6: Measure the Motor Voltage
With the motor powered, touch the multimeter probes to the motor terminals, again ensuring correct polarity. The multimeter will display the voltage across the motor. A healthy DC motor should show a voltage reading close to the power supply voltage. If the voltage reading is significantly lower or zero, it may indicate issues with the motor's electrical connections or internal components.
Step 7: Test Continuity
Continuity testing helps identify any breaks or interruptions in the motor's electrical path. Set the multimeter to the continuity mode (usually represented by a sound wave symbol). Touch one multimeter probe to a motor terminal and the other probe to another terminal or the motor body. If you hear a continuous beep or see a low resistance reading, it indicates that there is continuity, suggesting the motor's electrical path is intact. If there is no beep or a high resistance reading, it may indicate a break or interruption in the circuit.
Conclusion
By following the steps outlined in this article, you can assess the resistance, voltage, and continuity of the motor to determine its condition. Remember to exercise caution, disconnect the power supply before testing, and interpret the test results within the context of the motor's specifications.
Leave a Comment